
How to Fix a Dripping Tap? Is It Easy To Fix A Leaky Tap Yourself?
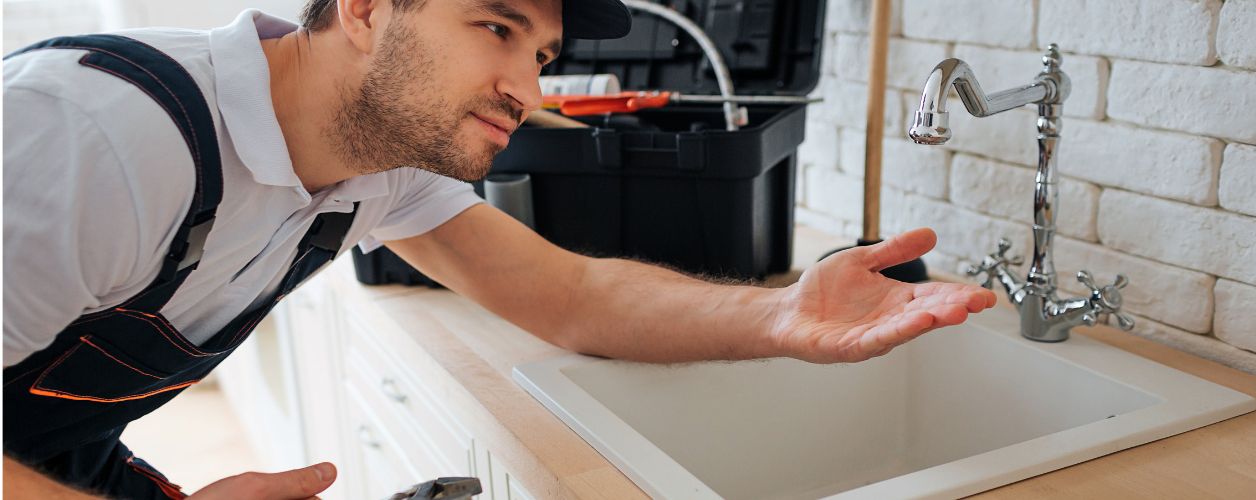
Table Of Content
- Introduction
- Why a Dripping Tap Is a Bigger Problem Than You Think
- Equipment Required For Fixing A Dripping Tap
- Understanding Different Tap Types
- Step-by-Step Guide: How to Fix a Dripping Tap
- Common Mistakes to Avoid During DIY Tap Repair
- Preventive Maintenance: Keeping Taps Leak-Free
- Eco and Cost Benefits of Fixing Taps Early
- Conclusion
There is little in the home more annoying than the annoying drip-drip-drip of a leaky faucet. Not only is it half-distracting, but it also wastes water, puts a strain on your bills, and eventually causes long-term plumbing-related troubles. Should it be ignored? Learning how to fix a dripping tap is one of the most useful skills any homeowner can pick up. Fortunately, you do not always have to bring in a plumbing professional. With some patience, the right tools, and basic knowledge, you can attempt DIY tap repair and save both money and resources.
This ultimate guide will walk you through all the steps of not only learning why taps drip, various tools and materials to be used, types of taps, but also the step-by-step process to follow to fix the taps. We’ll also cover common mistakes beginners make, how to stop a leaking faucet before it gets worse, and how to maintain your taps for the long run. By the end, you’ll also feel confident to handle the problem yourself.
Why a Dripping Tap Is a Bigger Problem Than You Think
It may seem that a minor leak is not dangerous. It is, after all, only a drop of water. The fact is, however, that this is all but grim humour.
Water Waste
Just one dripping tap can account for a wastage of 20,000 litres of water in one year. It is a massive volume even in areas where water savings are vital.
Increasing Water Bills
You might not feel this right away, but the water wasted costs you on utility bills. Fixing leakages is one of the easiest ways of reducing unnecessarily spent household expenses.
Structural Damage
In case the dripping becomes worse and splashes onto counter areas, walls, or cabinets, this can cause wood rot and mould and have existing damage to your home for extended periods.
Environmental Impact
Any water that you waste is that which could be used elsewhere. By learning how to fix a dripping tap, you’re contributing to a greener lifestyle.
Equipment Required For Fixing A Dripping Tap
Before you begin DIY tap repair, it’s important to gather the right tools. Being equipped with the incorrect equipment is one of the quickest methods of error. The following are the requirements:
- An adjustable wrench or spanner- It is used to loosen and tighten nuts.
- Screwdrivers (flathead and Phillips)- Different taps require different screws.
- Allen keys- May be needed in cartridge-style taps.
- Replacement washers and O-rings - This is the most common cause of a drip.
- Plumber grease - Greases new parts so that they run smoothly.
- Cleaning rag and a pail – This is used to mop up any water splashes and clean up pieces.
- Pliers – Pliers, which are needle-nosed, are useful in gripping small parts.
- Flashlight - In case you are working in a poorly lit bathroom or somewhere under a sink.
The availability of these helps in the repair process to be more seamless, and it prevents time wasted in a search to buy them.
Understanding Different Tap Types
There is no universal follow-up to repairing these taps, and this is reliant on the way the tap has been designed. The 4 most frequent are:
Compression Tap
- Has a washable valve that covers the valve in its off position.
- Readily available and inexpensive, but somewhat outdated.
- Proneness to wear and tear of washers, thereby resulting in drips.
Cartridge Tap
- Has a cartridge to regulate water flow.
- Long-lasting and is serviced with a replacement cartridge when it leaks
Ceramic Disk Tap
- Has two ceramic filters that move to adjust the water.
- They are very reliable and sensitive to debris or scale buildup.
Ball Tap
- Required in kitchens, most of the time.
- These use a ball bearing and springs that will wear out and lead to leaks.
Understanding which type you have is essential before starting any DIY tap repair.
Step-by-Step Guide: How to Fix a Dripping Tap
So here we go into the specifics of how each type of tap works. This section is the heart of our blog, giving you a detailed breakdown of how to fix a dripping tap regardless of its design.
Step 1: Shut Off the Water Supply
- Find your sink isolation valve or valve to your house.
- Turn off completely so that water does not spill out in the event of repair.
- Turn the tap all the way to drain off any standing water.
Step 2: Plug the Drain
To avoid the screws or washers going down the drain, use a sink plug or a rag. This is a precautionary measure that avoids a lot of frustration.
Fixing a Compression Tap
- Dislodge the tap handle by means of a screwdriver.
- Use an adjustable wrench to undo the packing nut.
- Pull out the stem, and you can see the washer.
- Look over the washer to make sure it is not cracked or thin around the edges.
- Replace with a new size of washer.
- Reassemble the tap, use the plumber's grease, where necessary and tighten.
This is the most straightforward method to stop a leaking faucet when dealing with older designs.
Fixing a Cartridge Tap
- Remove the ornamental cap from the handle.
- Loosen the screw that holds the handle with an Allen key.
- Press the handle off and you get the cartridge.
- Using pliers, remove the cartridge carefully.
- Put in a fresh cartridge of the same size and shape.
- Rebuild the tap and check whether there is leakage.
Cartridge taps are sensitive; therefore, do not force parts.
Fixing a Ceramic Disk tap
- Unscrew and remove the handle and the escutcheon cap.
- When the ceramic disk cylinder is protruding, pull it out.
- Test the rubber gaskets on the bottom.
- Repair or replace the seals or the whole cylinder, as the case may be.
- Put together and lightly screw up.
Ceramic taps are resilient; however, dirt may scratch the plates. It is important to thoroughly clean them during repair as much as it is important to replace seals.
Fixing a Ball Tap
- Defit the handle by using an Allen key.
- Out the cam before packing, and ball assembly.
- Check the springs and seals under the ball.
- Change a repair kit of worn springs and seats.
- Reassemble and make sure that it is aligned.
This is an easier process, though slightly involved, and would work with patience.
Common Mistakes to Avoid During DIY Tap Repair
Even when you know how to fix a dripping tap, it’s easy to make errors. The following are some of the most typical pitfalls to avoid:
- Excessive tightening of pieces - This will break washers or strip screws.
- Selecting an inappropriately sized washer - A slight inaccuracy with this might result in leaks as well.
- Making omissions in plumber-grease - Causes friction and premature wearing.
- Leaving the water on - An old-fashioned error that leads to one giant mess.
- Forcing parts - Deadly when used with Ceramic disk taps.
Avoiding these mistakes ensures your DIY tap repair lasts much longer.
Preventive Maintenance: Keeping Taps Leak-Free
Prevention is preferable to treatment. Once you’ve learned how to fix a dripping tap, it’s just as important to know how to avoid future problems.
- Inspect every couple of months to prevent minor leaks from being picked up.
- Clean aerators to avoid the accumulation of minerals.
- Check the pressure of water, which is not so much that it ruins seals.
- Replace washers a few years before they wear out.
- Detect cartridges - when the handle is difficult to turn, swap it out sooner rather than later.
These minor routines make it highly unlikely that you will ever need to repair it any time soon.
Eco and Cost Benefits of Fixing Taps Early
When you stop a leaking faucet, you’re not only saving money but also protecting the environment.
- Water Saving - Litres of water saved per year.
- Lower Bills - Reduced utility bills monthly
- Sustainability - Little actions that make a worldwide difference.
A simple tap repair work would not seem like much, but the difference can be quite significant.
Conclusion
A dripping tap may seem like a minor inconvenience in the home, but nothing should be neglected as this could cause unnecessary water wastage, hiked bills and even plumbing challenges in the long run. The good news is that with a little time and effort, anyone can learn how to fix a dripping tap without calling a professional. Regardless of the type of tap you have at home (a compression, cartridge, ceramic disk or ball tap), the repair process is quite attainable provided that you know the right steps to undertake, the tools you require, and the additional parts that have worn out, such as washers, O-rings, or cartridges.
Beyond saving money, DIY tap repair also supports water conservation and reduces your environmental footprint. Regular maintenance, early detection, and proper care will help stop a leaking faucet and keep your taps leak-free. Sealing a leak today is an investment in future, smoother, more sustainable tomorrow.
YOU MIGHT ALSO BE INTERESTED IN
Capital Cities
- Plumbers Services in Whangarei
- Plumbers Services in Auckland Central
- Plumbers Services in Hamilton
- Plumbers Services in Whakatane
- Plumbers Services in Gisborne
- Plumbers Services in Napier Terrace
- Plumbers Services in Stratford
- Plumbers Services in Palmerston North
- Plumbers Services in Wellington Central
- Plumbers Services in Richmond
- Plumbers Services in Nelson East
- Plumbers Services in Blenheim Central
- Plumbers Services in Greymouth
- Plumbers Services in Christchurch
- Plumbers Services in Dunedin Central
- Plumbers Services in Invercargill
- Plumbers Services in Waitangi